Creating a cross-platform REST client with Lazarus
Making your own tools to increase for speed of development
In this article/tutorial we will create a Lazarus application and complete the following tasks:
- Create an new Application
- Design the User Interface (UI)
- Setting Up the Libraries
- Implement the HTTP/HTTPS Calls
- Export the Executable
Creating a new Application
To create a new application first you need to launch the Lazarus IDE, once the program is loaded then select the following from the main menu:
Project > New Project ...
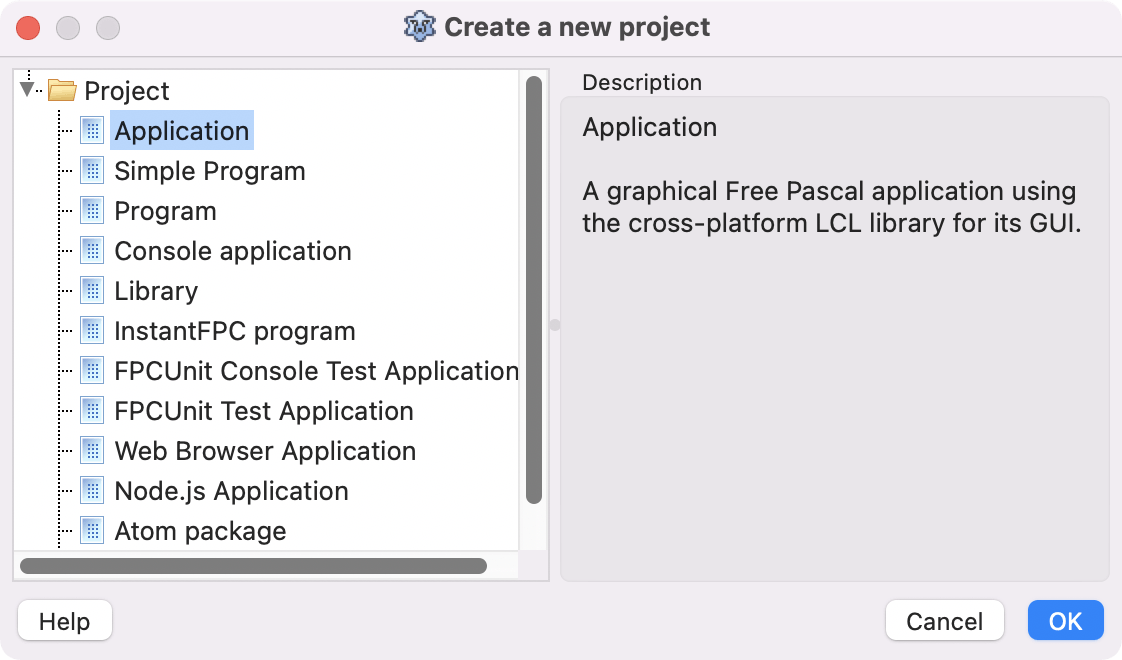
Select to create a new Application as shown in the image below:
 Now your new project will look as the following screen shot:
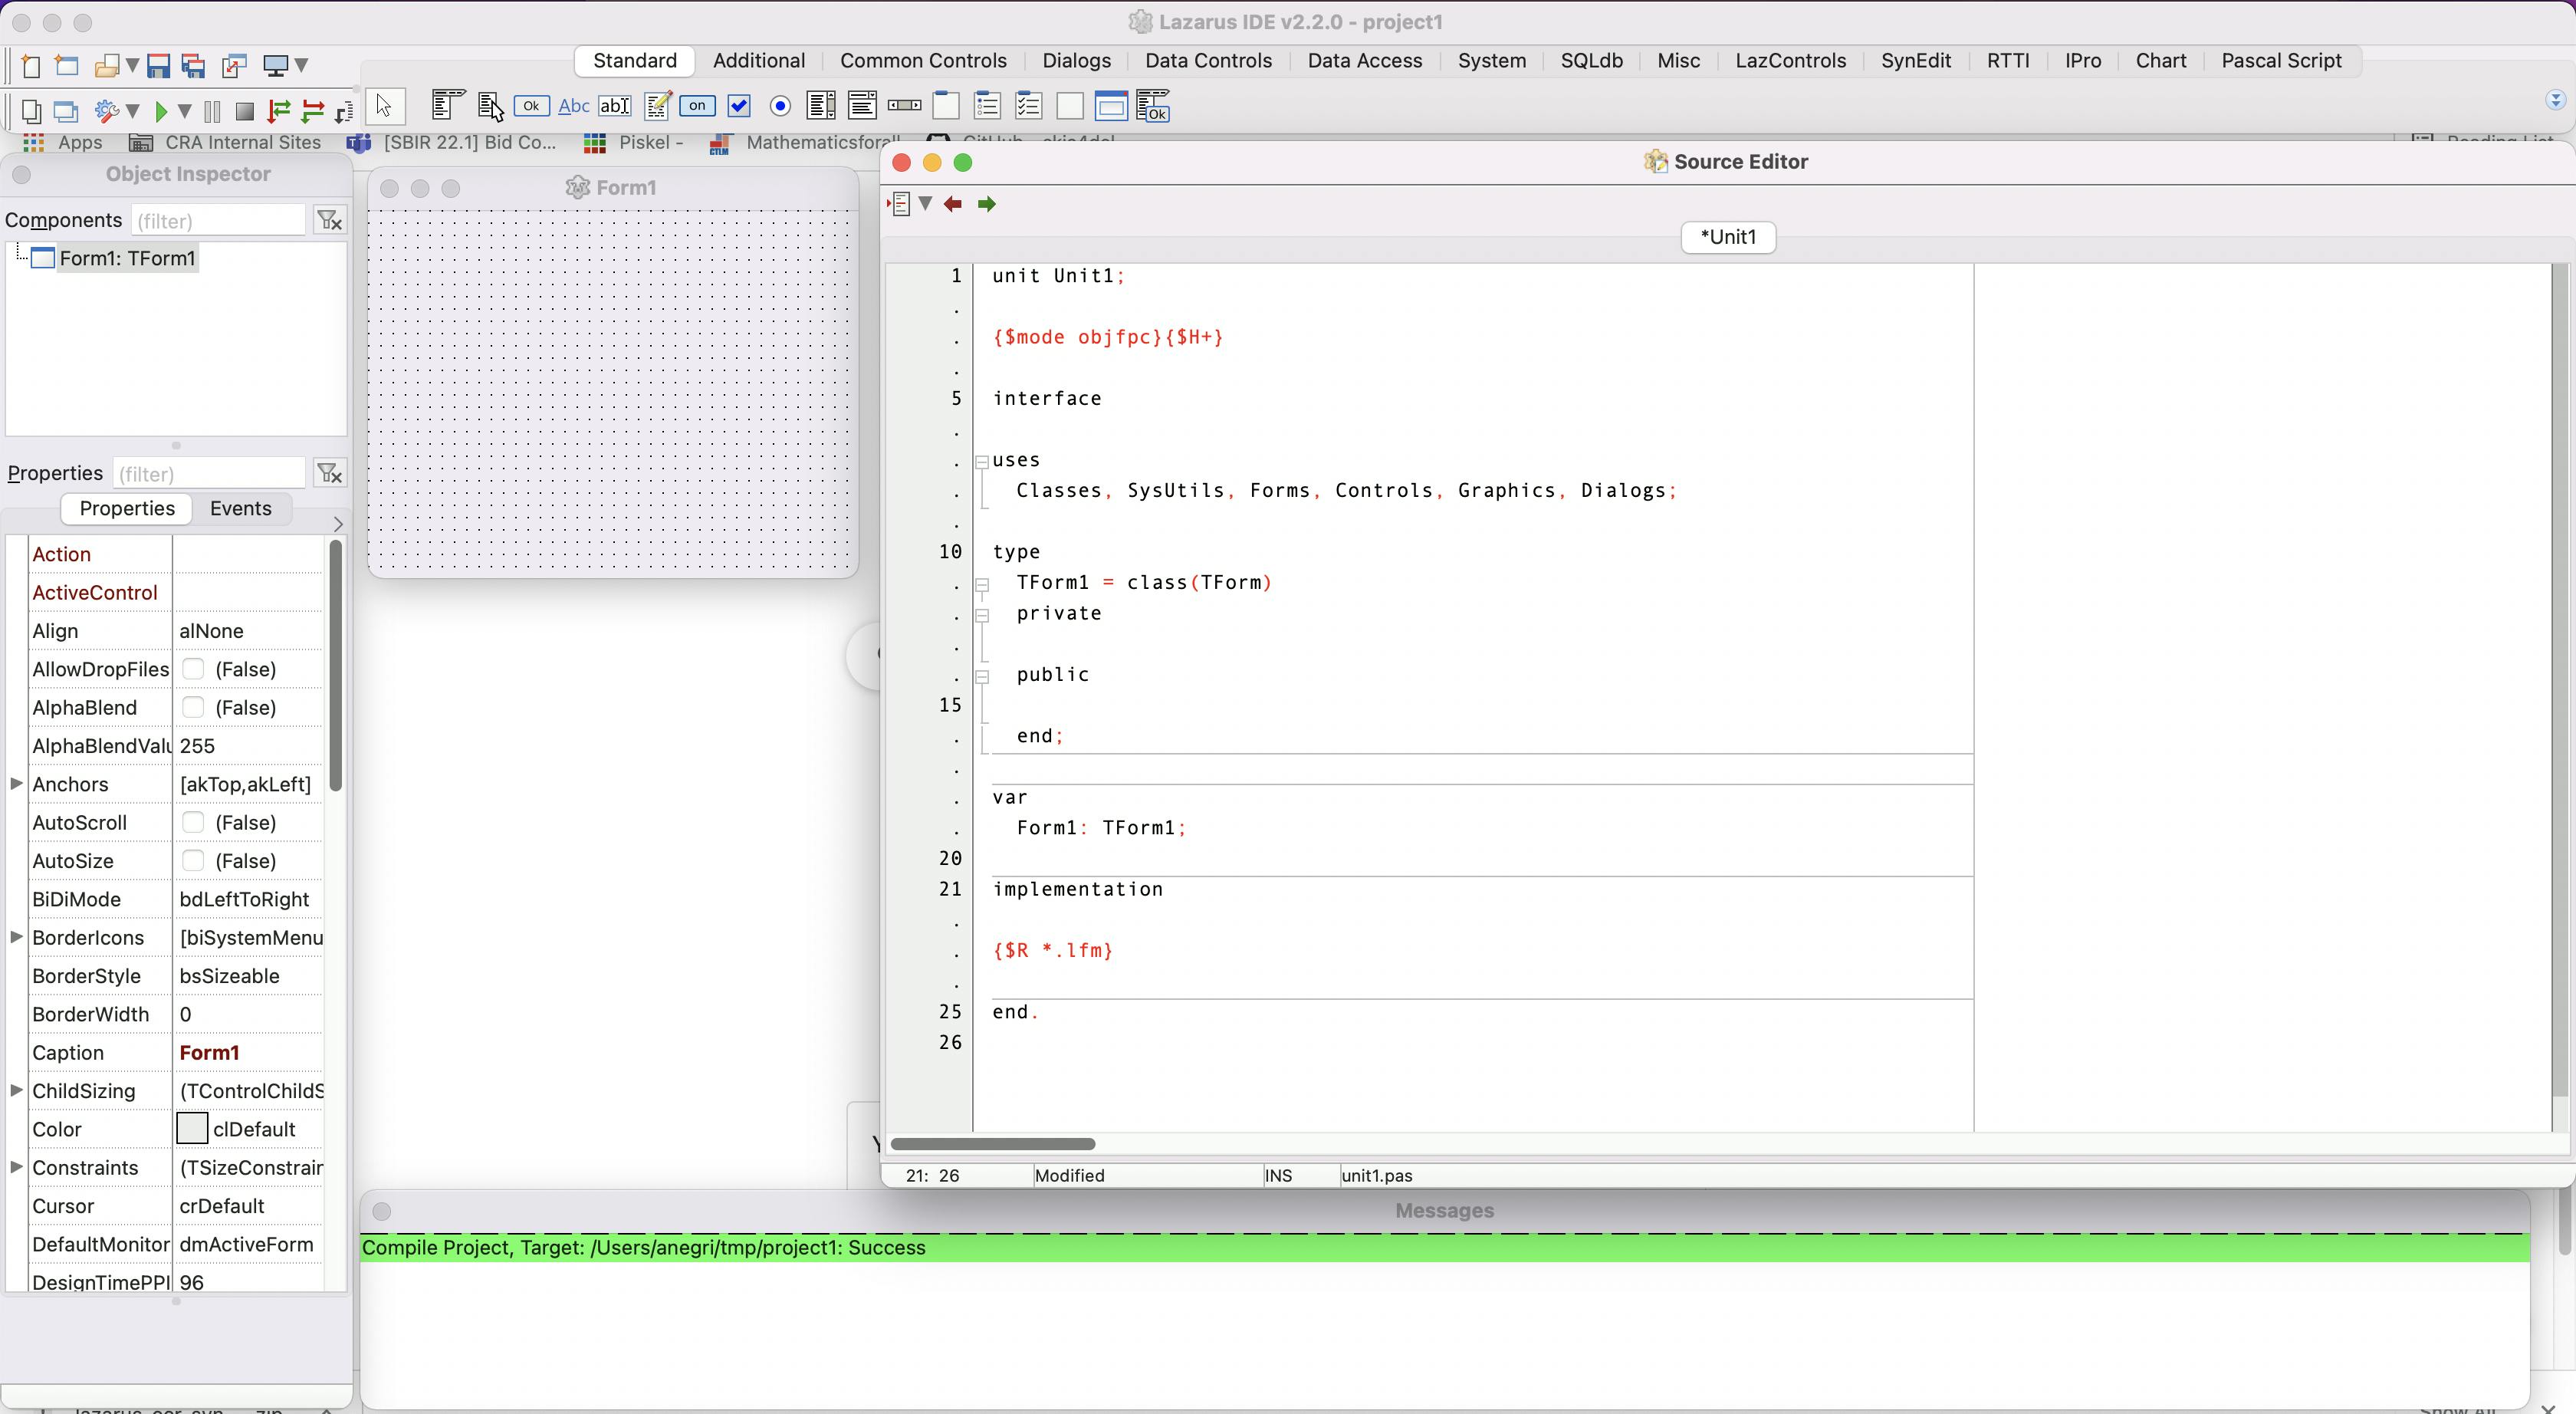
Press on the play button to run the application
You will have not a flat grey application will be shown, the project has been created! Make sure to save it by going to:
Project > Save Project As ...
Design the User Interface (UI)
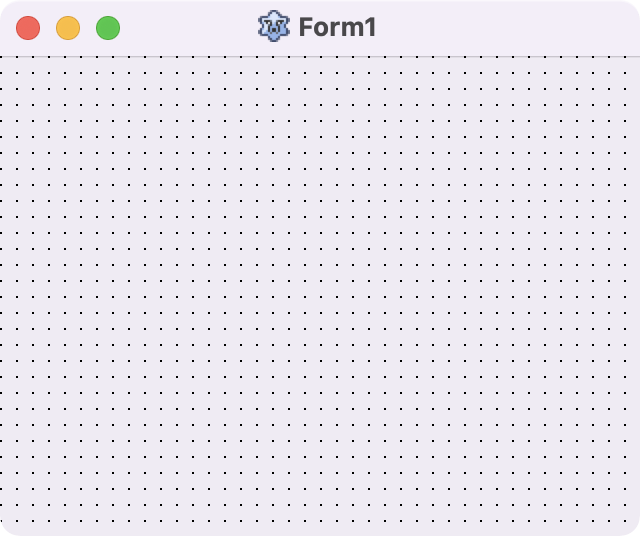
The next phase is to design the UI, we start with the following blank form:
We are going to resize the form and add one TEdit control, two TButtons, and two TMemos. The form should be resized as well and look like the image below:
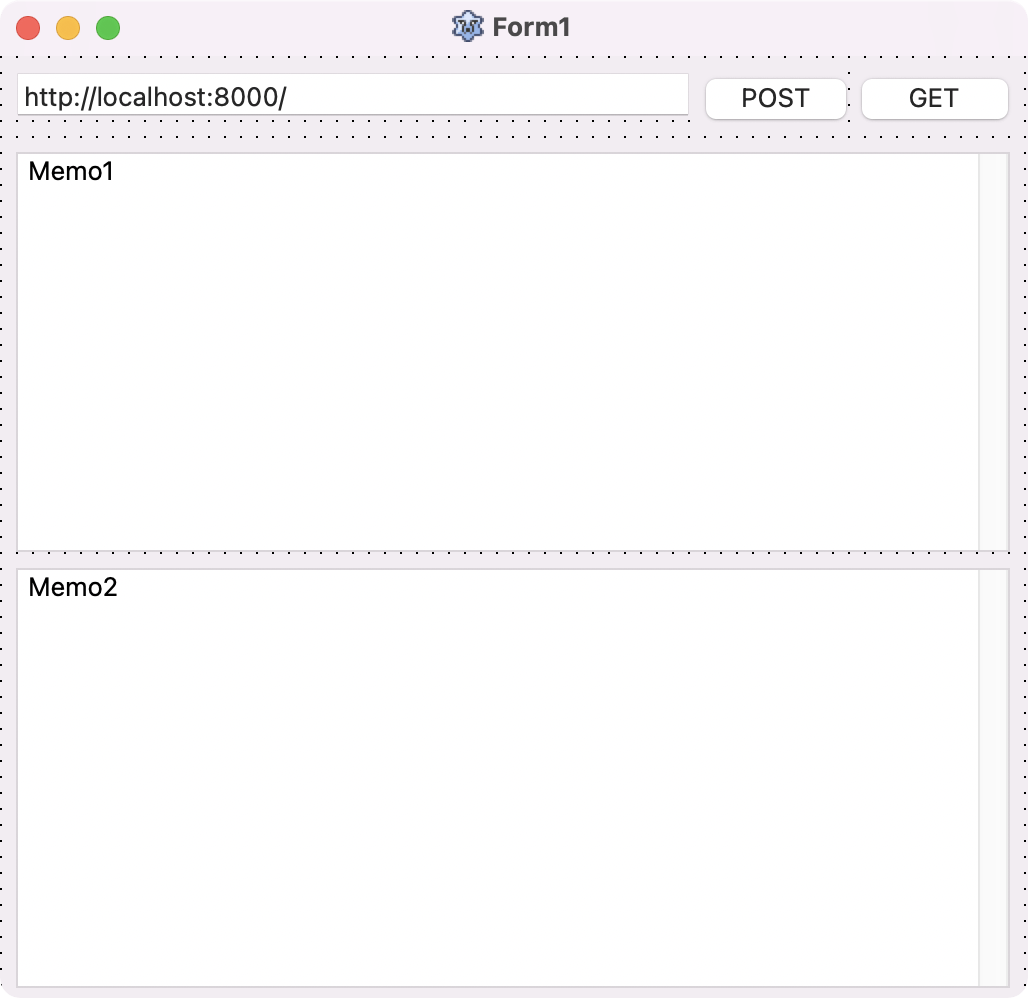
Each component will have the following function:
- TEdit1: will contain the url address to access
- TButton1: will be renamed to POST, and a button event will be created for a POST client request (the POST can be modify to support UPDATE and DELETE requests).
- TButton2: will be renamed to GET, and a button event will be created for a GET client request.
- TMemo1: will be on the top, and will be used to paste JSON data for the body of the message.
- TMemo2: will be on the bottom, and will be used to display the response from the REST request.
A few notes on the UI components: TEdit1 has the anchors enabled (set to true) for the Left, Right, and Top; TButton1 and TButton2 have the Right, and Top enabled; TMemo1 the anchors for the Left, Right, and Top are enabled; and the TMemo2 has all the Left, Right, Bottom, and Top anchors enabled.
Setting Up the Libraries
Next step is to include the libraries required in our project so we can use the network calls. The following block of code shows you the necessary libraries:
uses
    {$IFDEF UNIX}cthreads, {$ENDIF}Classes, SysUtils, Forms, Controls, Graphics,
    Dialogs, StdCtrls, fphttpapp, httpdefs, httproute,
    opensslsockets, fphttpclient, fpjson, jsonparser;
Here we added the fhttp network libraries, the json support, and the threading required for async calls.
Implement the HTTP/HTTPS Calls
Creating a GET call in Objective Pascal
  try
     response := TFPHTTPClient.SimpleGet(Edit1.Text);
     Memo2.Lines.Add(response);
   except on E:Exception do
     Memo2.Lines.Add('something bad happened : ' + E.Message);
   end;
Creating a POST call in Objective Pascal
  httpClient := TFPHTTPClient.Create(nil);
  httpClient.RequestBody := TRawByteStringStream.Create(Memo1.Text);
  ResponseRest := TStringStream.Create('');
  try
     try
        httpClient.Post(Edit1.Text, ResponseRest);
        Memo2.Lines.Add('Response Code is ' + inttostr(httpClient.ResponseStatusCode));
        Memo2.Lines.Add(httpClient.ResponseStatusText);
        Memo2.Lines.Add(ResponseRest.DataString);
     except on E:Exception do
        Memo2.Lines.Add('something bad happened : ' + E.Message);
     end;
  finally
    httpClient.RequestBody.Free;
    httpClient.Free;
  end;
Testing the Project
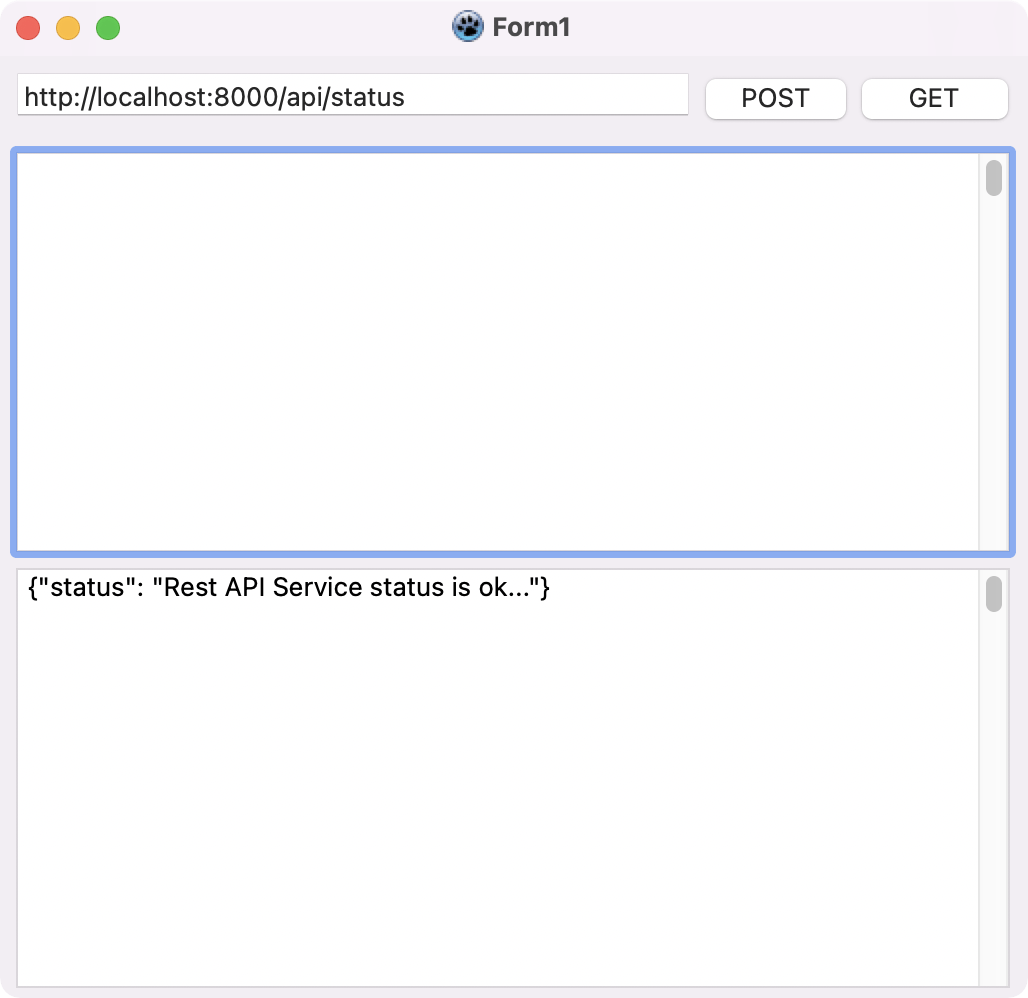
Now if we launch a REST web server (such as a python Tornado server), we can test against it by changing the URL on the TEdit1 field. A GET request will get you the following message on your new tool:
Export the Executable
Fast like a cheatah we have created a light weight developer tool, that can be extended for all your rest client needs, the project can be opened in MacOS, Windows, and Linux to be recompiled for cross-platform use out of the box. 
The full source code of the application can be found in this repo

